Create an Amazon CloudFront Distribution and Website

Passionate DevOps engineer with a strong background in automating and streamlining software development processes. Experienced in designing, implementing, and managing robust CI/CD pipelines, infrastructure as code, and cloud-based solutions. Dedicated to optimizing system performance, scalability, and reliability through continuous integration, deployment, and monitoring. Adept at collaborating with cross-functional teams to drive innovation and deliver high-quality software solutions. Committed to staying up-to-date with the latest industry trends and technologies to ensure efficient and effective DevOps practices. Let's build and deploy together!
First create S3 bucket
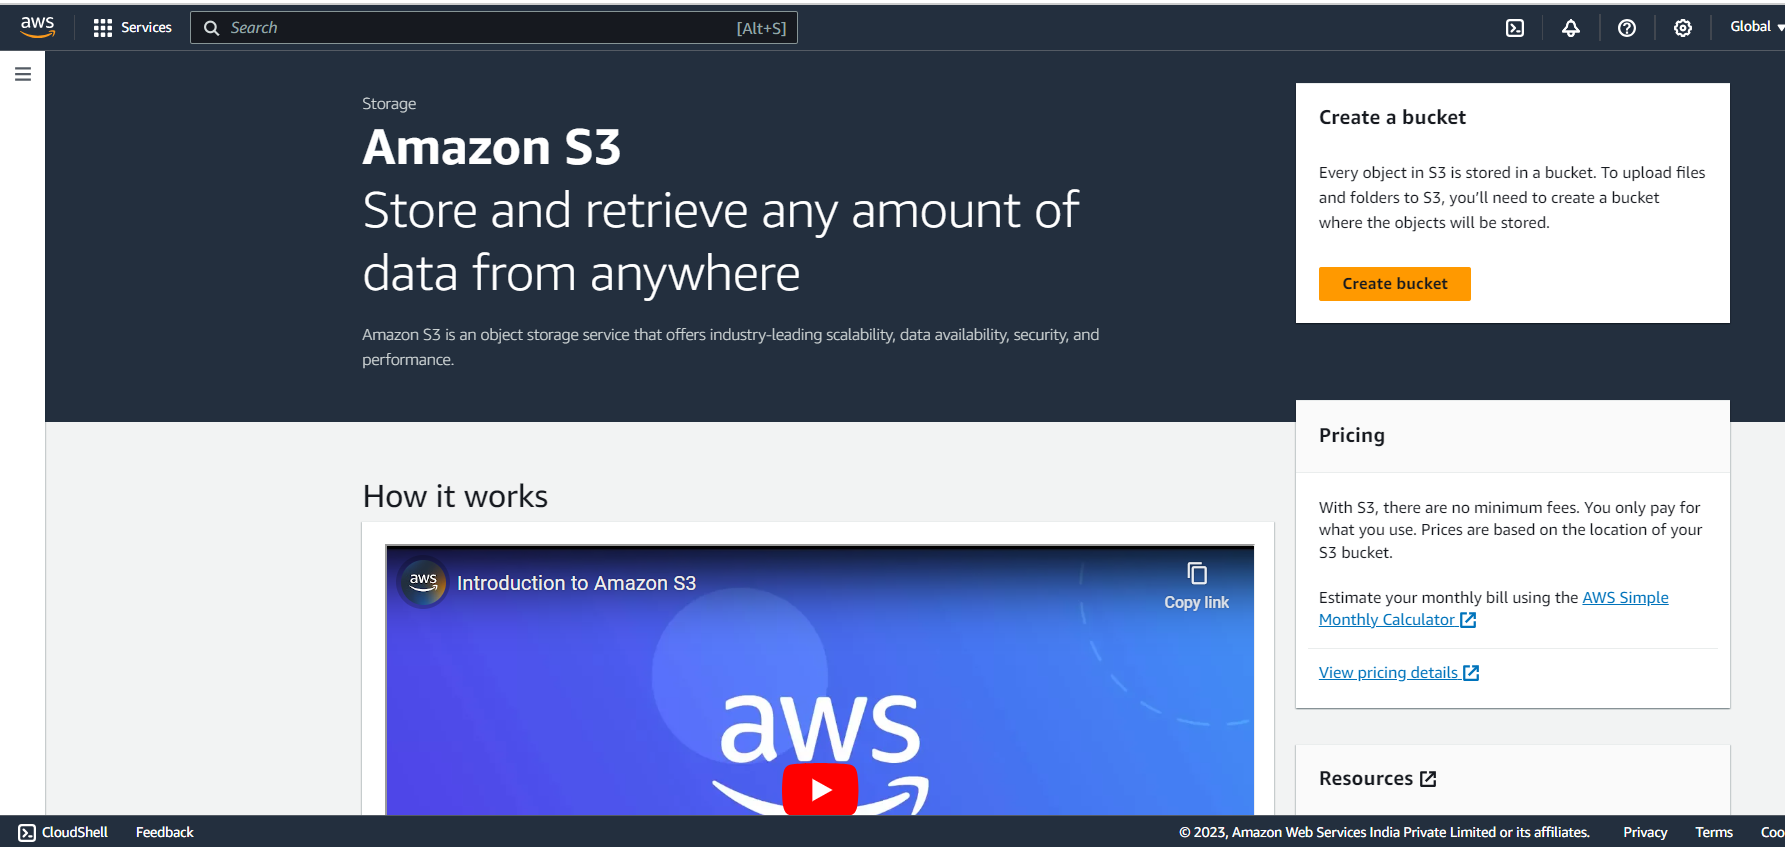
Just write any unique Bucket name and proceed with default setting.
Upload the index.html file and puzzle_cat from your local device
<html xmlns="http://www.w3.org/1999/xhtml" >
<head>
    <title>CloudFront Demo</title>
</head>
<body>
  <h1>Hello world!</h1>
  <p>Need help with your puzzles?  I have a cat for you!</p>
  <img src="puzzle_cat.jpg">
</body>
</html>
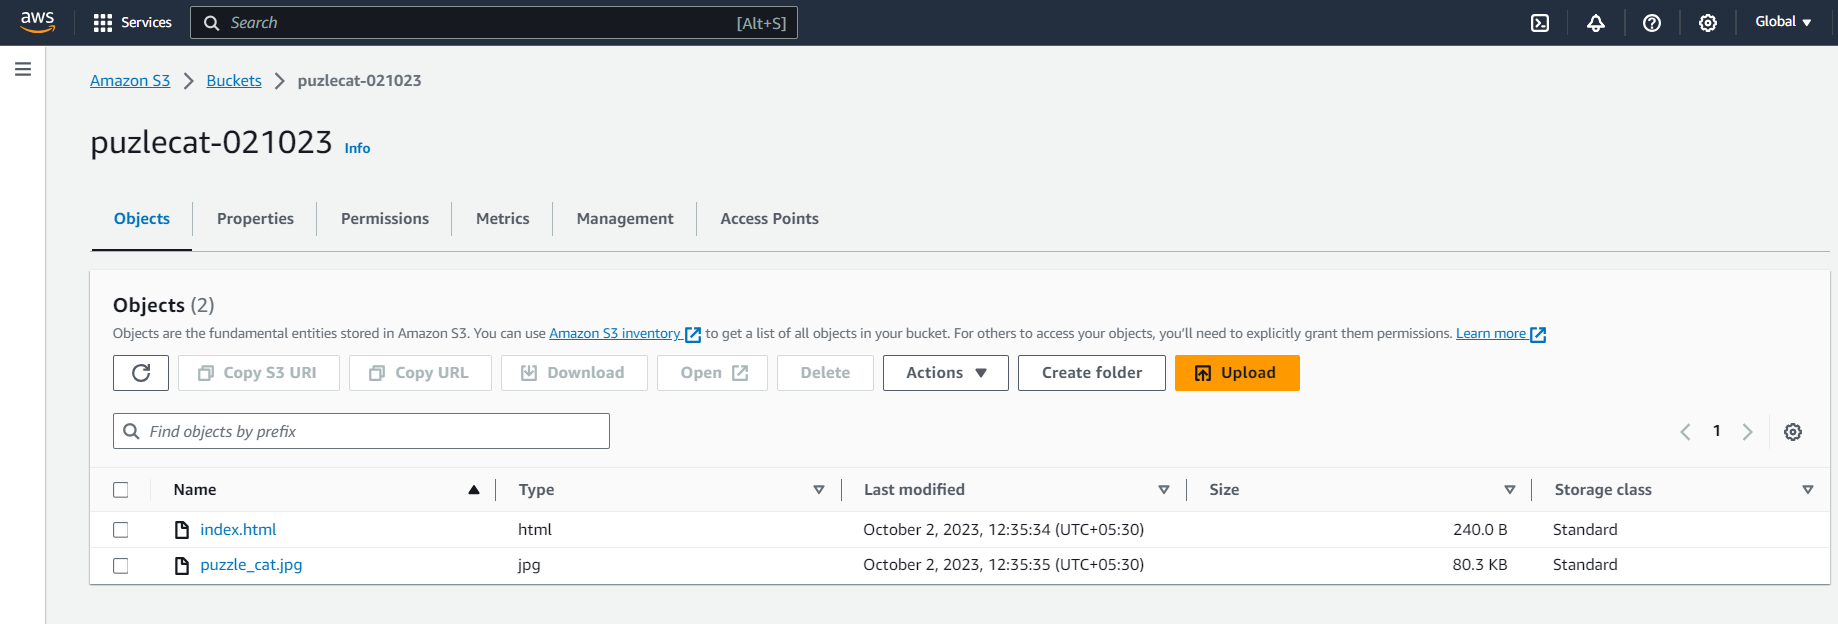
Copy html code from above and save it to text file and then convert online it to html file. After doing it upload the image and HTML file both to S3 bucket.
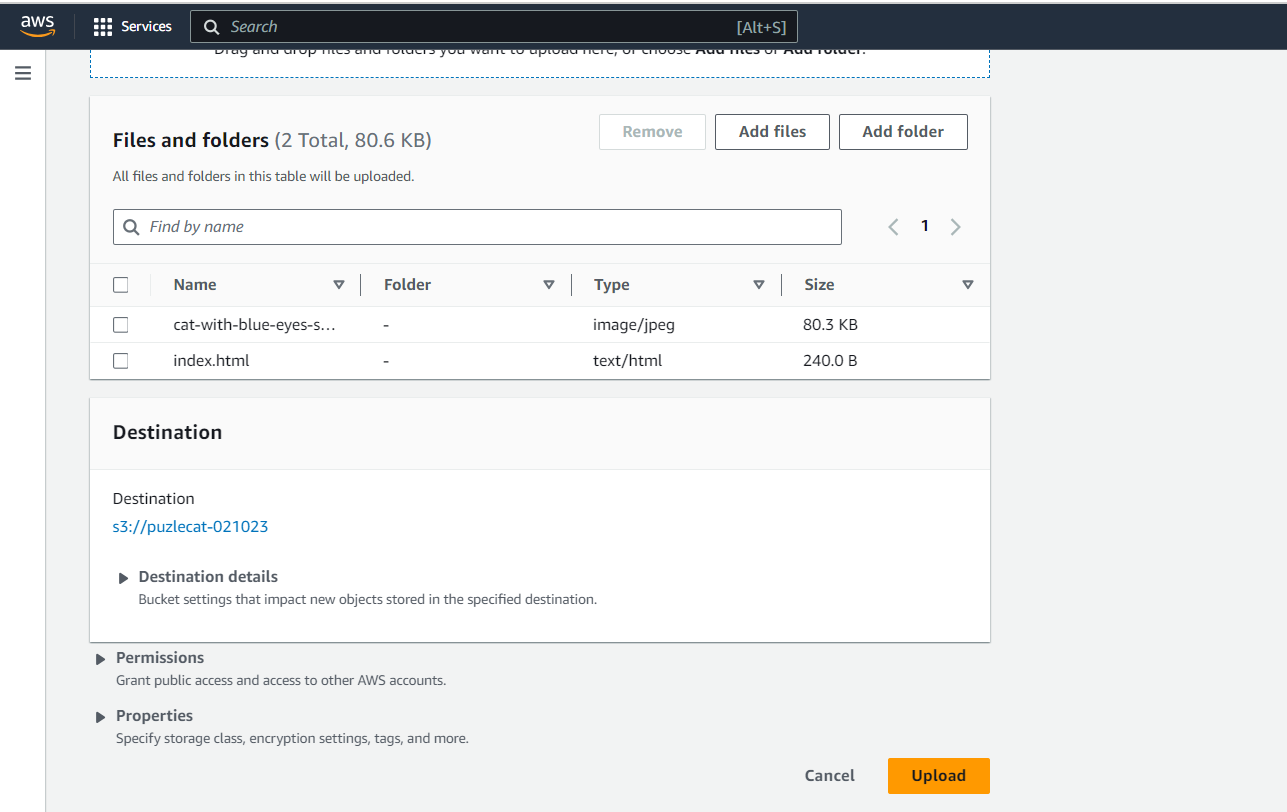
You will be able to see below shown;
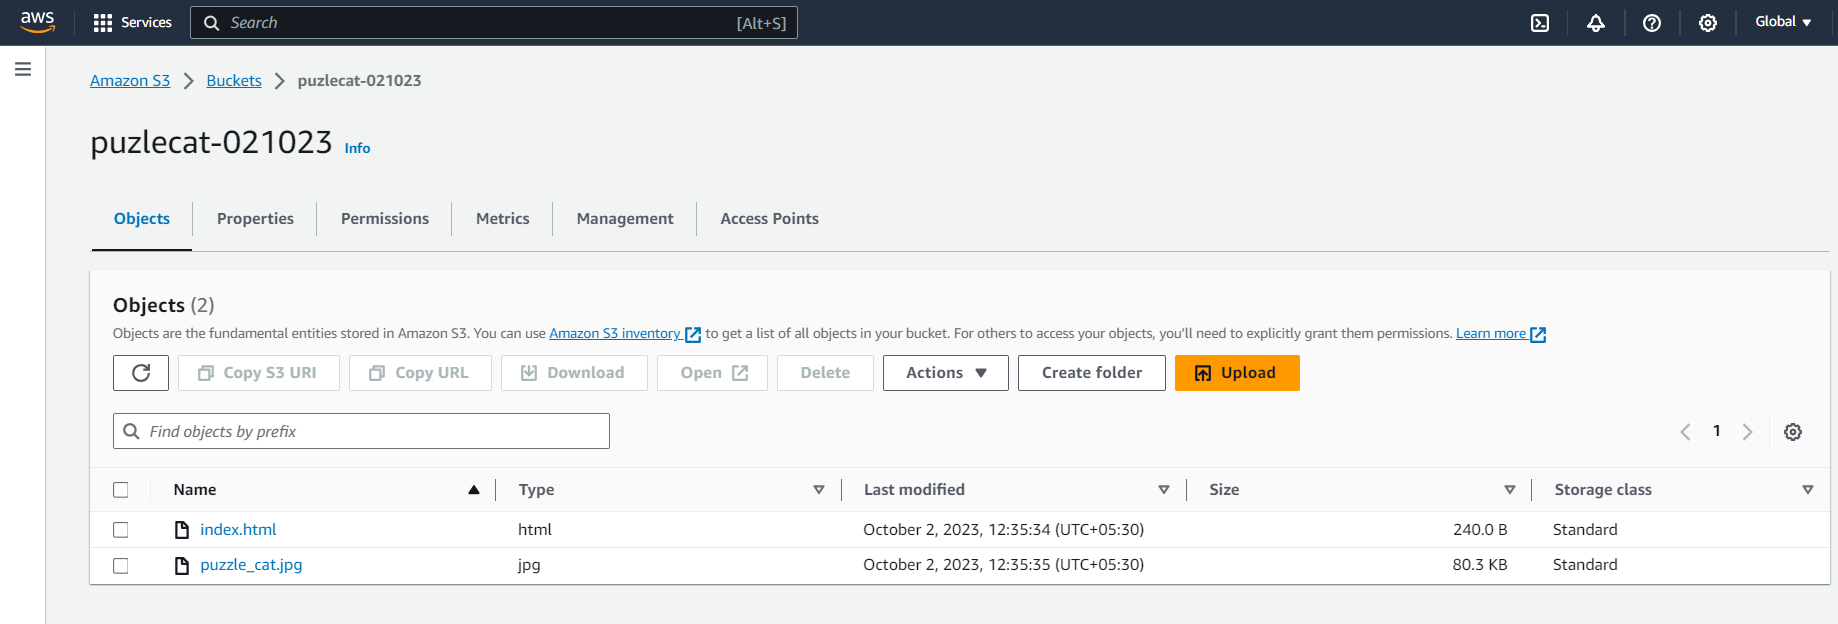
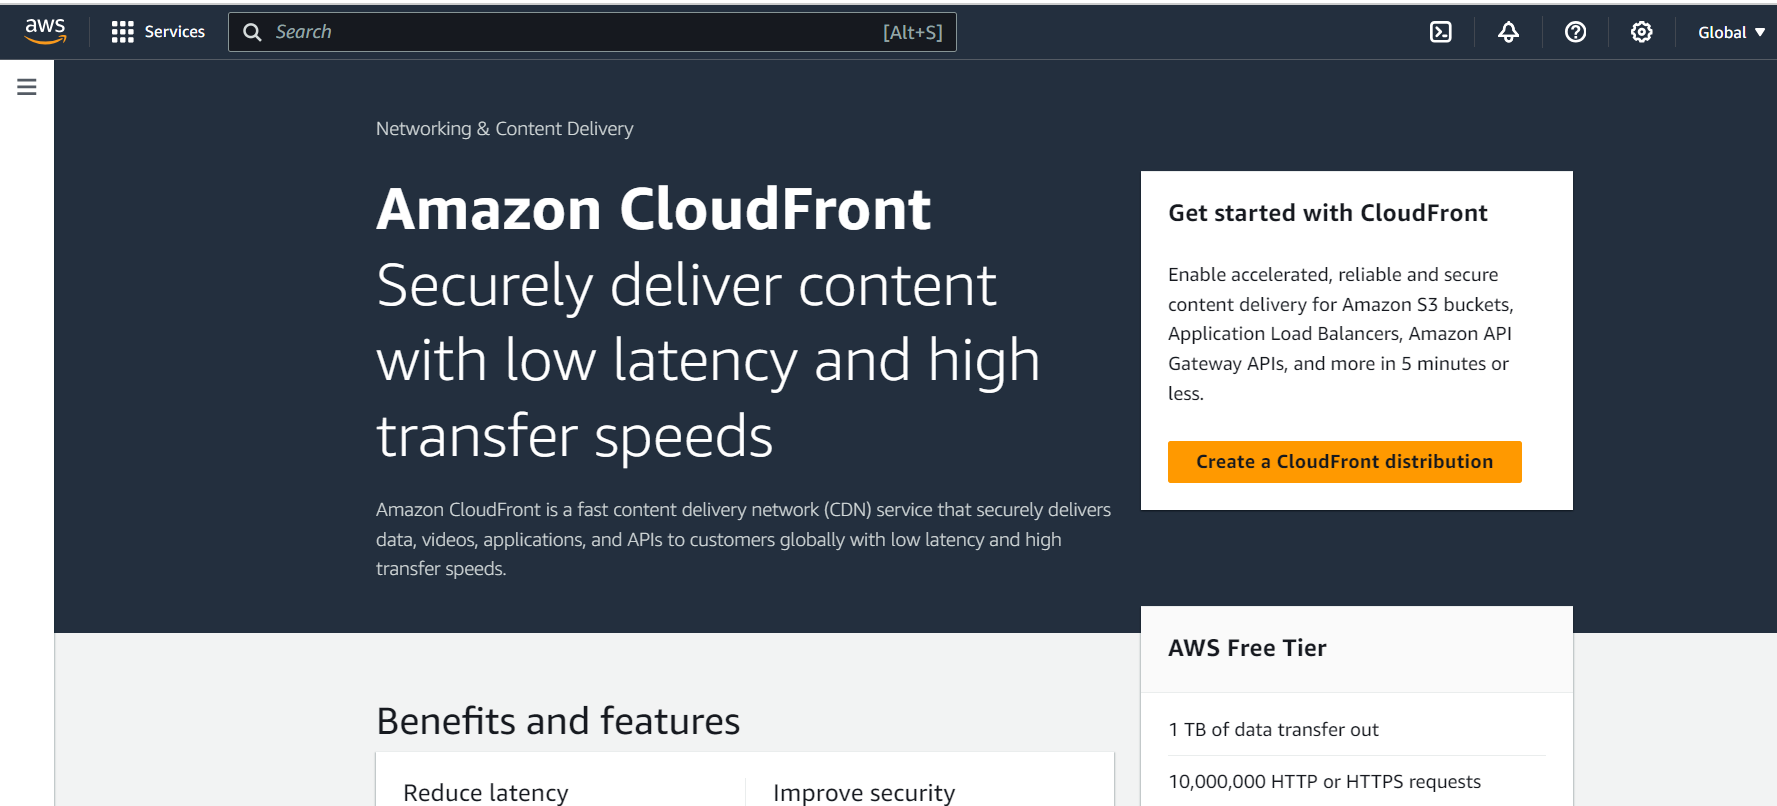
Now make a cloudfront Distributon by following below steps
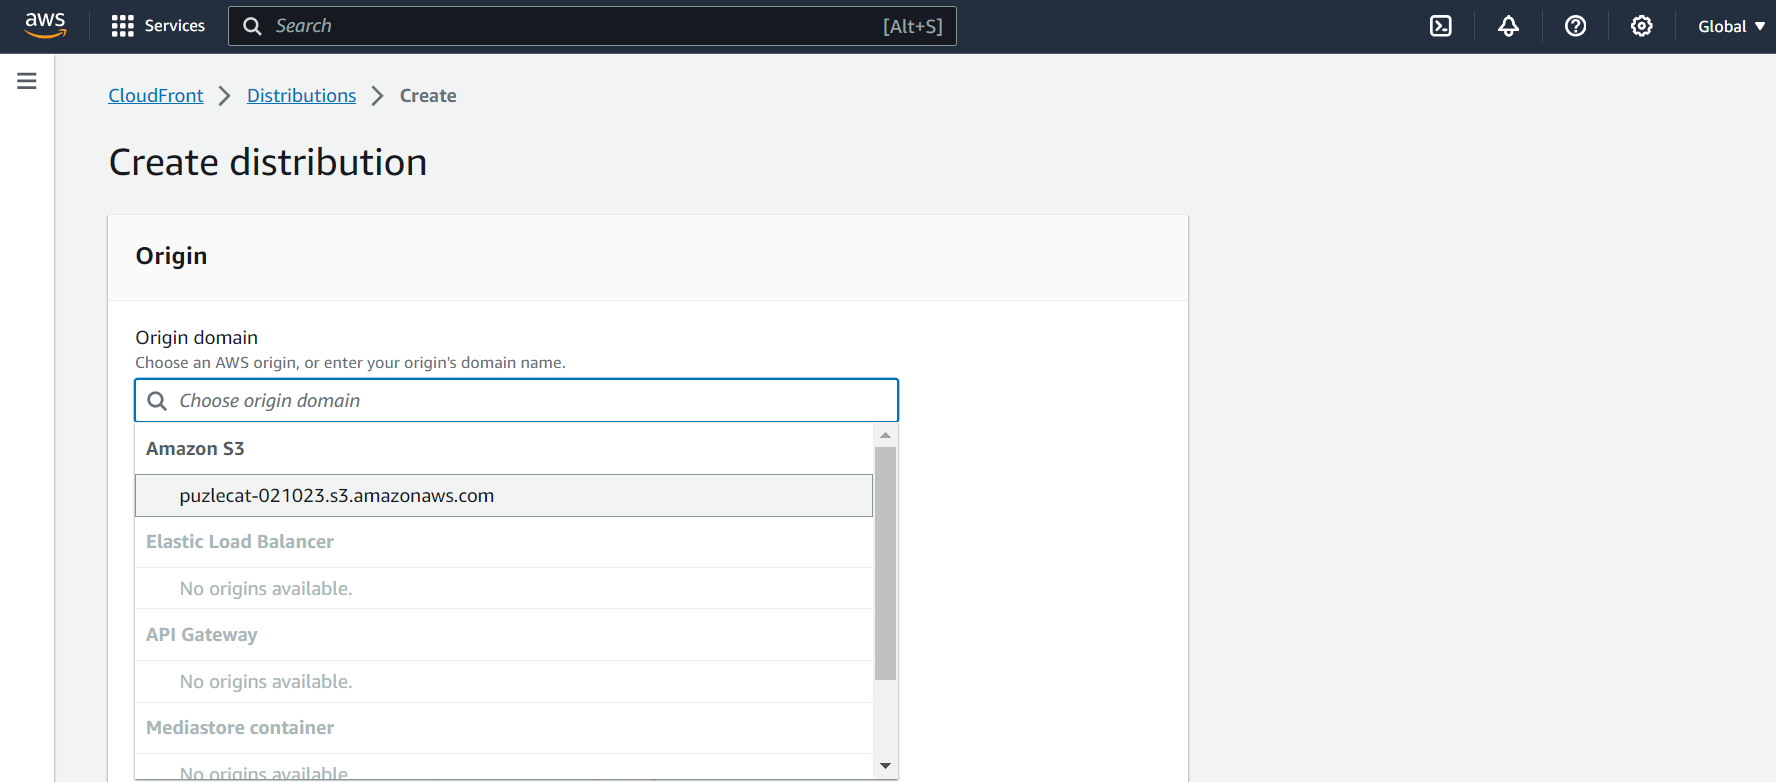
It will automatically suggest you bucket name as origin domain name, select the same one.
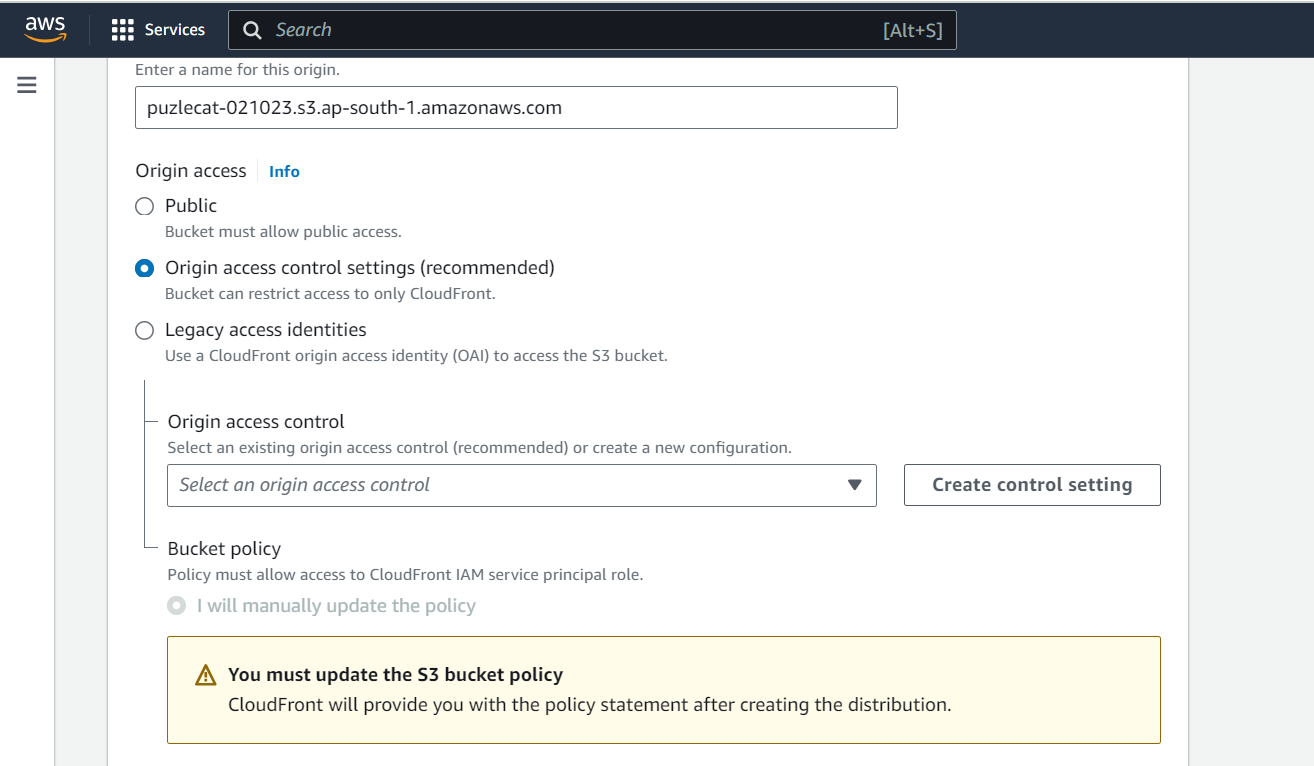
Select the option shown and rest proceed with default setting
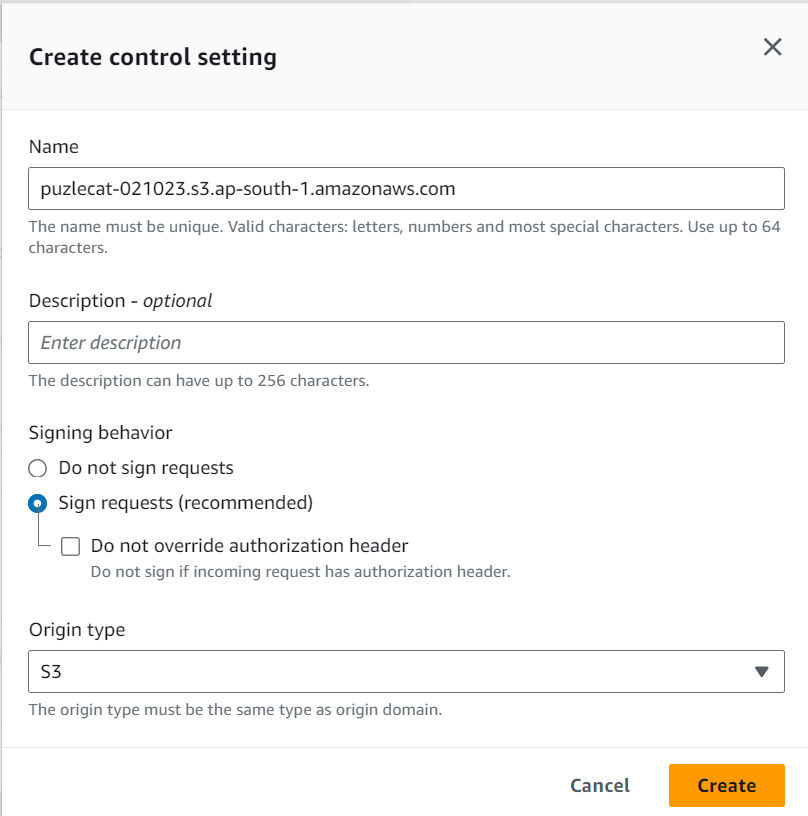
and then hit to create option.
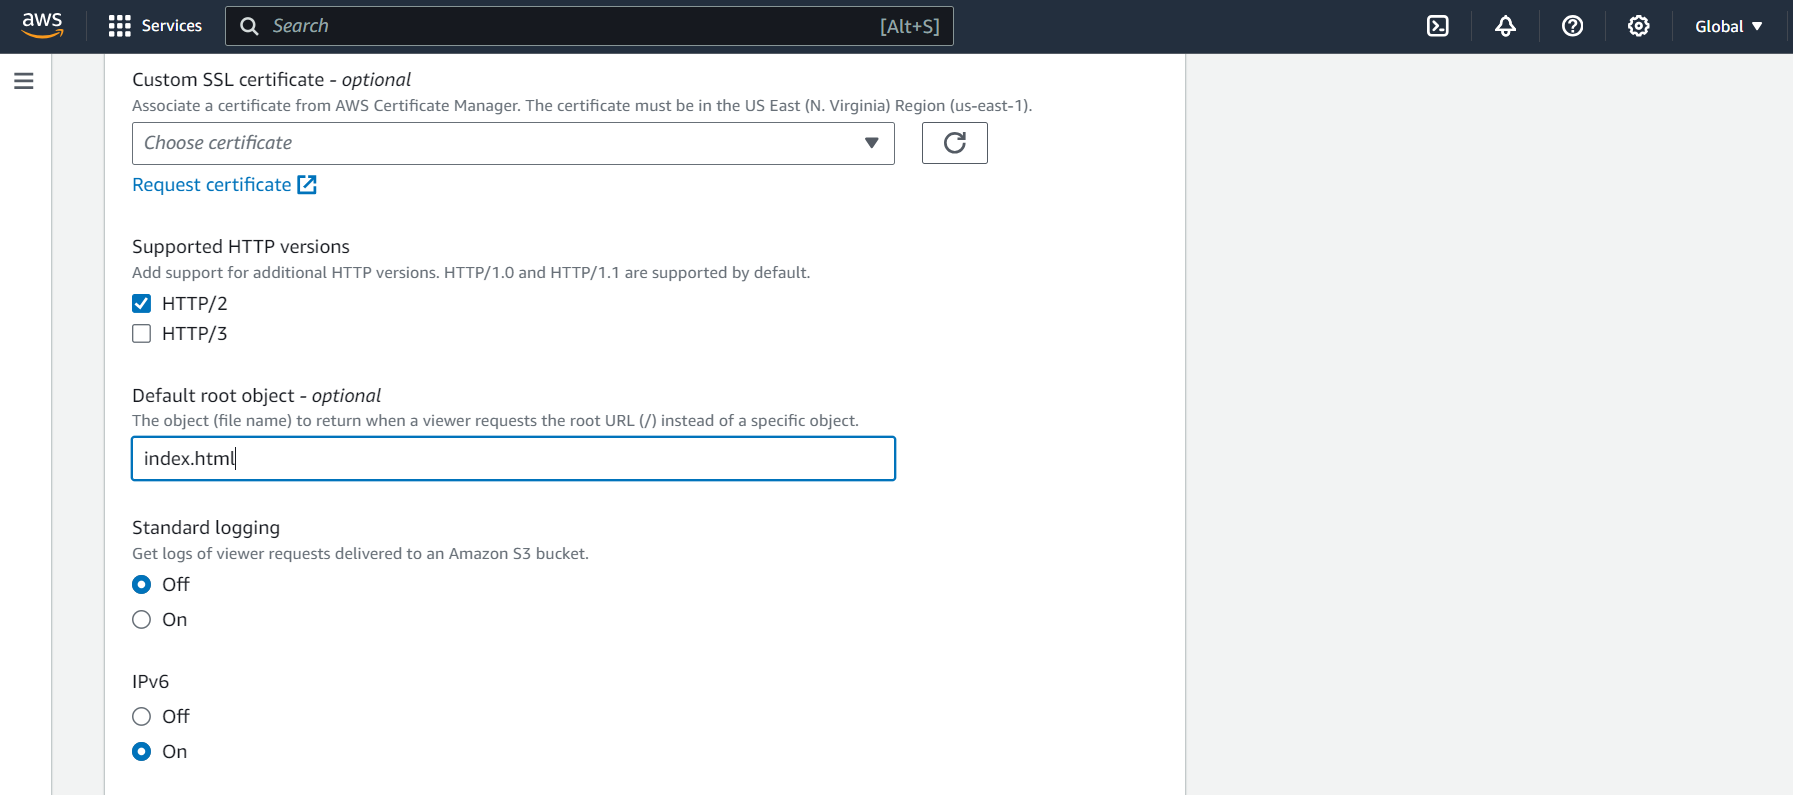
Now we need to change bucket policy as cloudfront distribution has been created, and we need to update the bucket policy.
First copy policy from the provided option as shown below
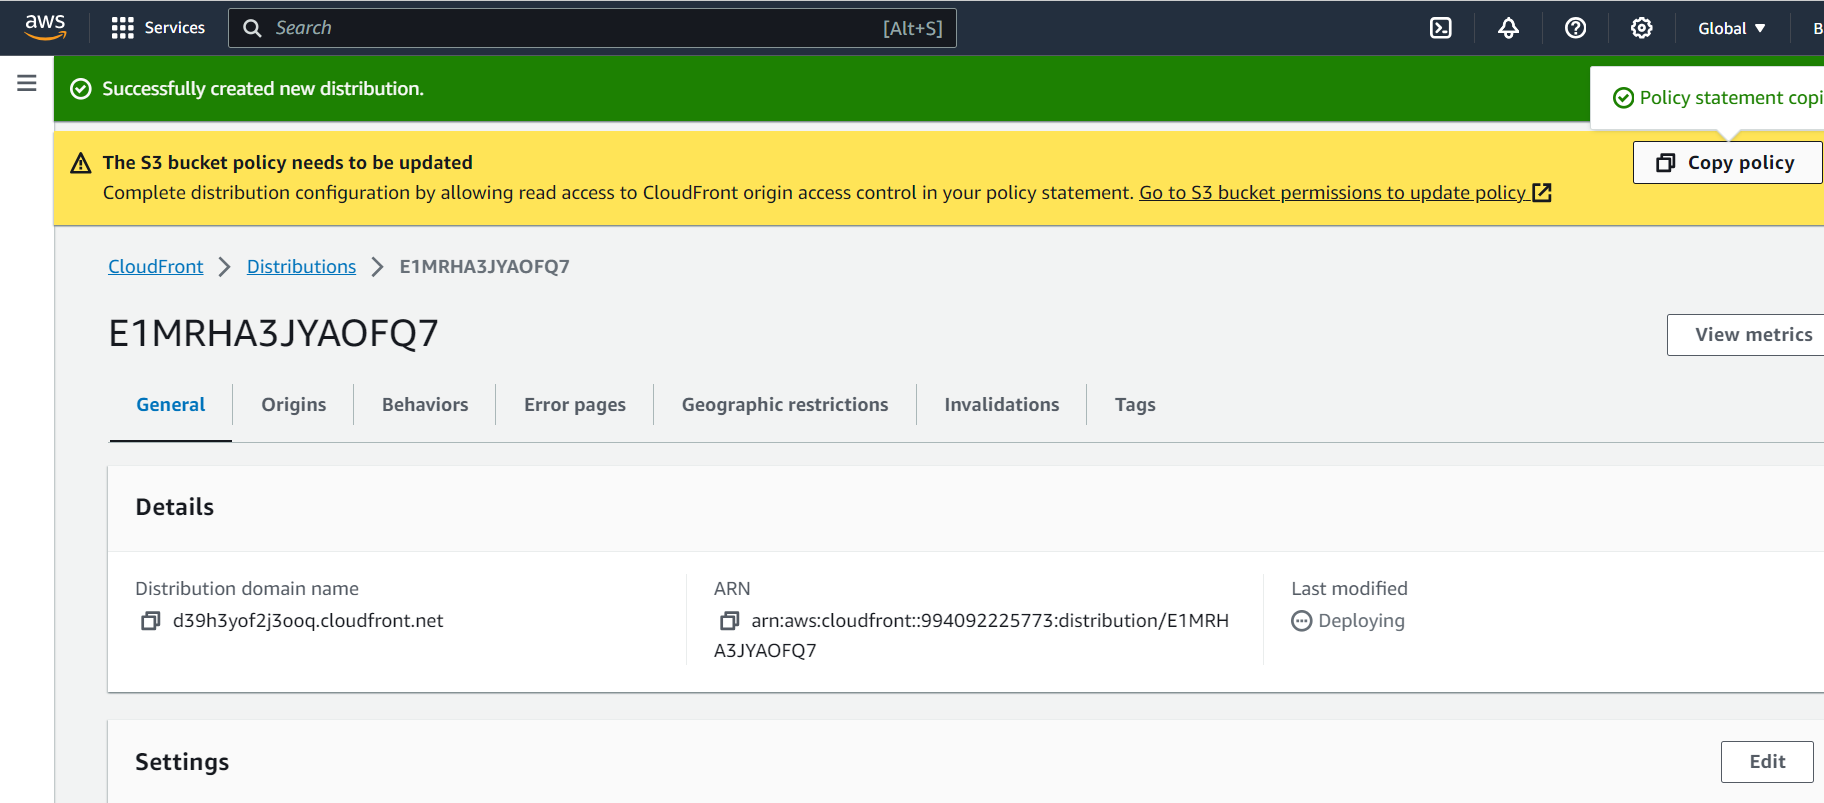
{
        "Version": "2008-10-17",
        "Id": "PolicyForCloudFrontPrivateContent",
        "Statement": [
            {
                "Sid": "AllowCloudFrontServicePrincipal",
                "Effect": "Allow",
                "Principal": {
                    "Service": "cloudfront.amazonaws.com"
                },
                "Action": "s3:GetObject",
                "Resource": "arn:aws:s3:::puzlecat-021023/*",
                "Condition": {
                    "StringEquals": {
                      "AWS:SourceArn": "arn:aws:cloudfront::994092225773:distribution/E1MRHA3JYAOFQ7"
                    }
                }
            }
        ]
      }
Now open the URL which is shown below at same path in new tab;
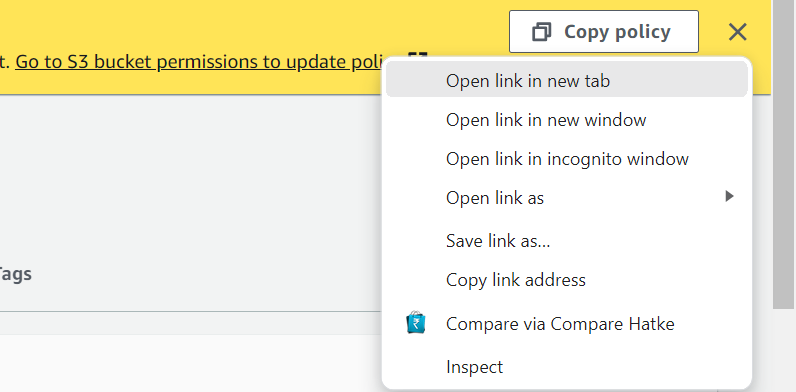
Now by default it will redirect you to permission option of S3 bucket
Now Edit the Bucket policy option
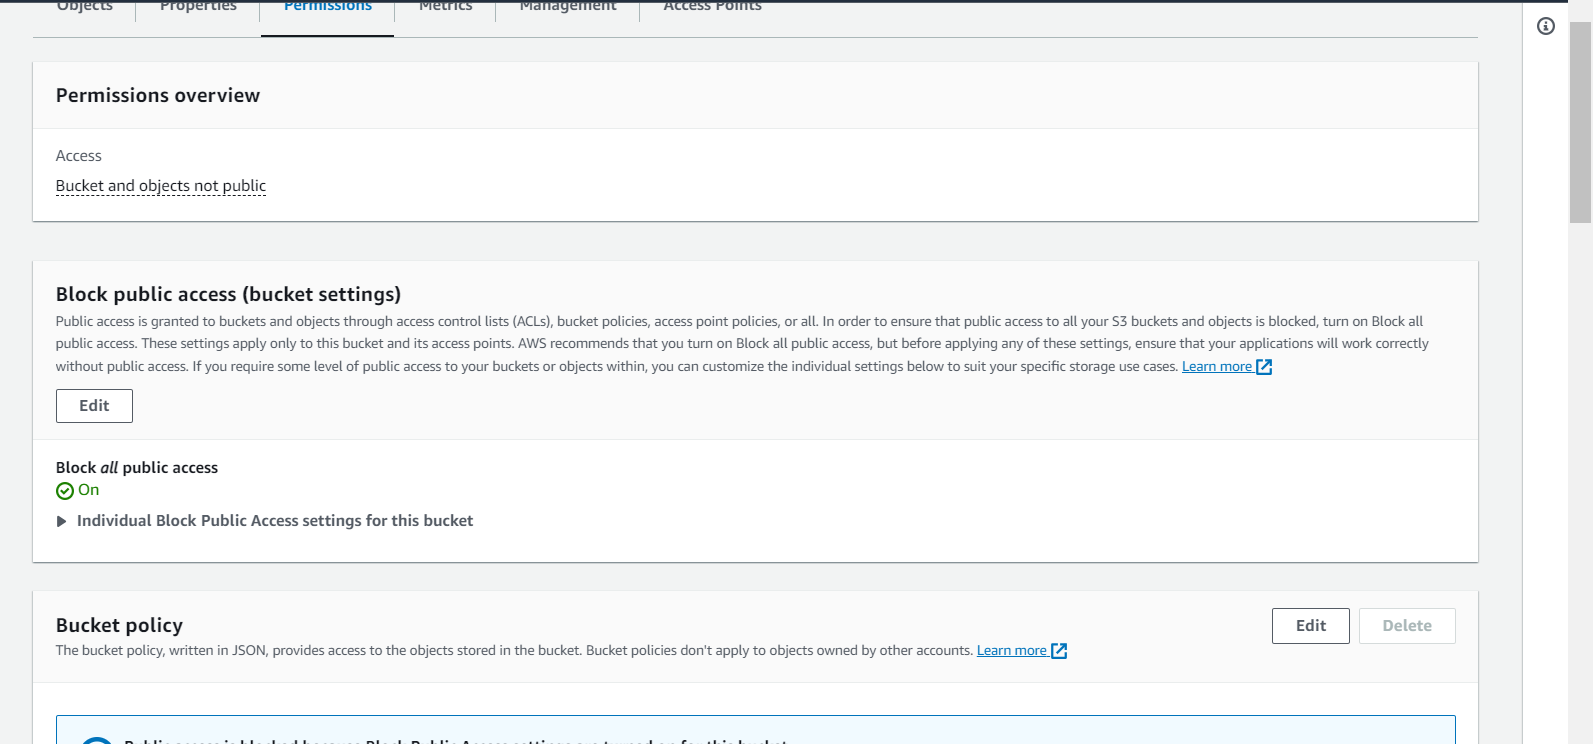
And paste the policy which have been copied above
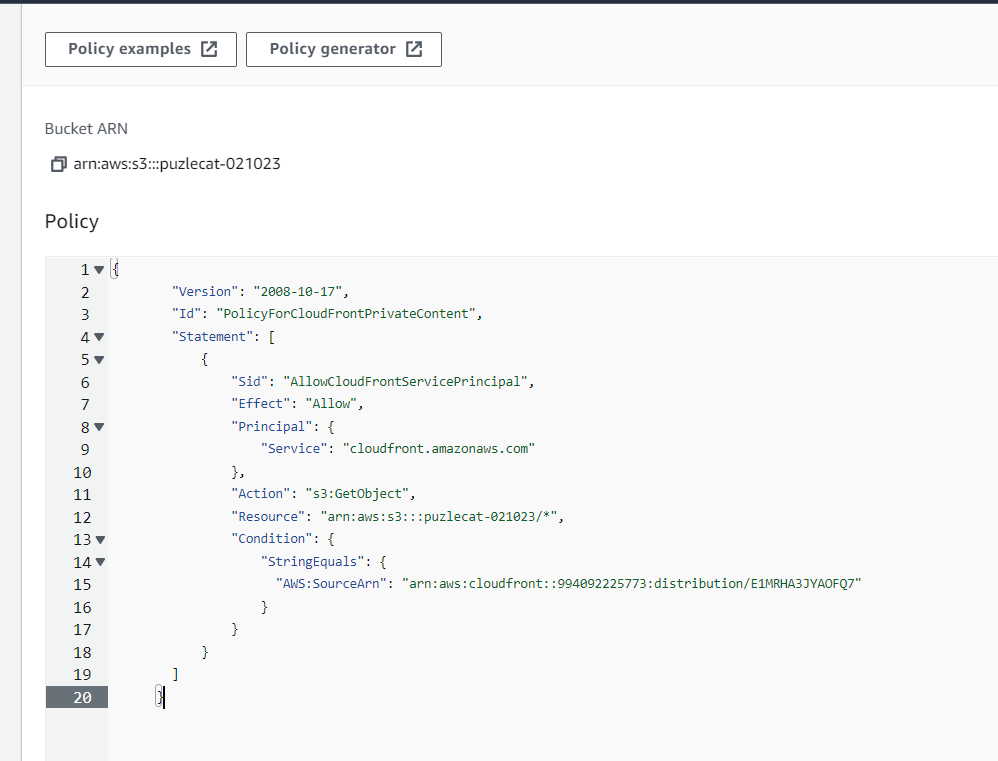
Save the changes
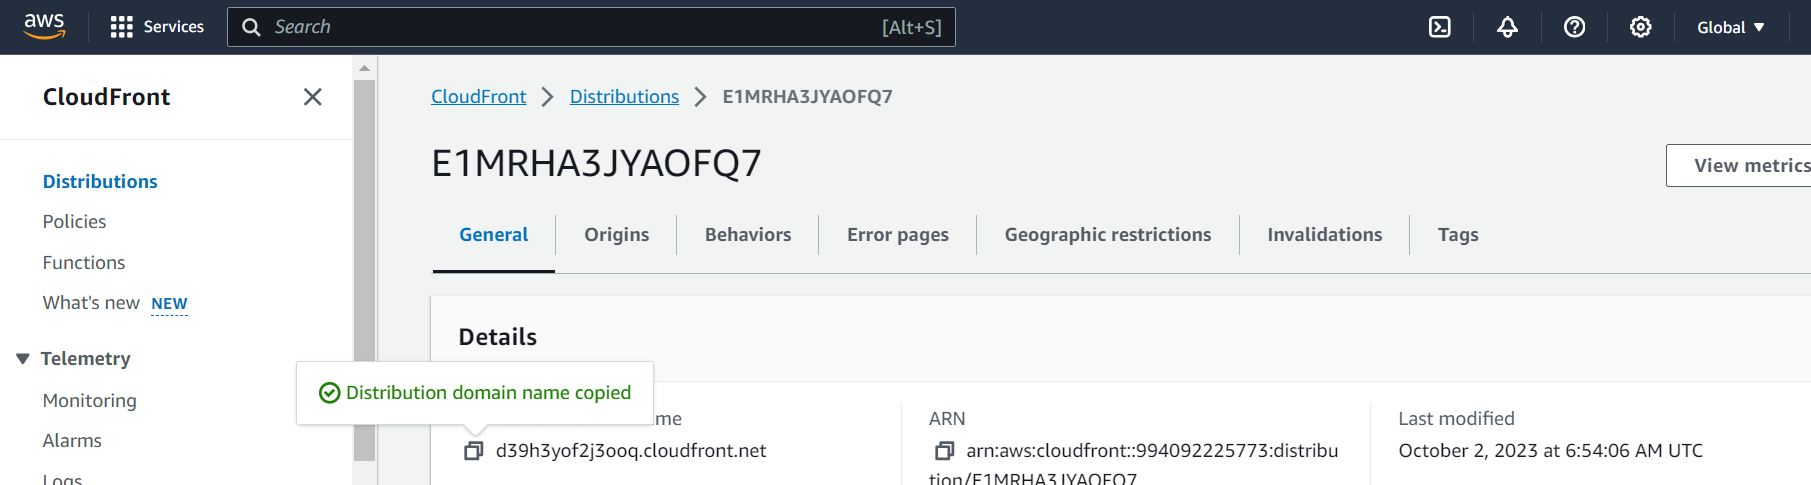
Copy the above Distribution domain name and paste it on URL You will see......
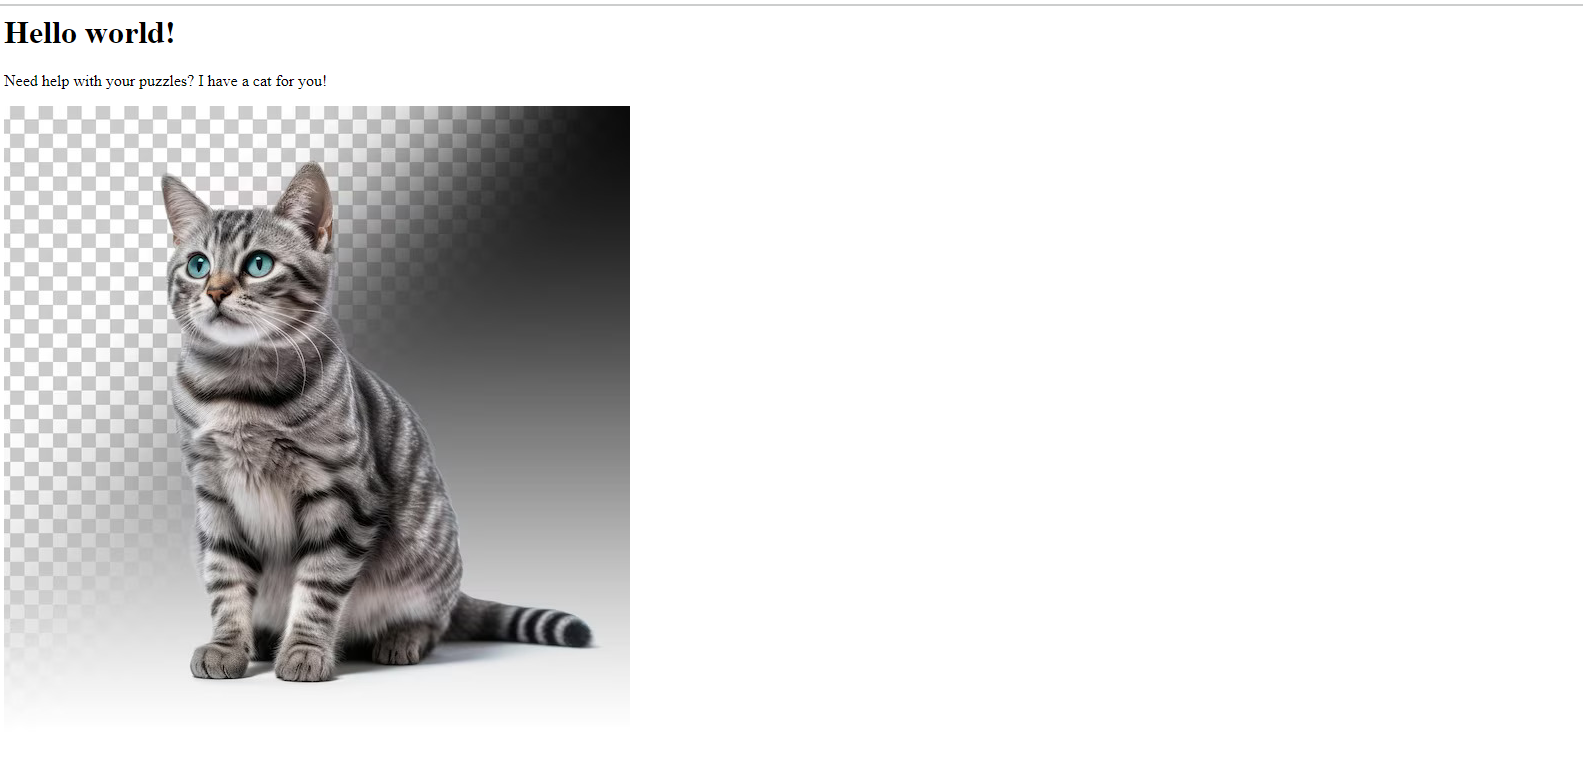
Heeeyy!!! Got this done..!!
Thanks for reading. Keep Learning!!!!

